
November ONLY: 35% OFF
APS IS OFFERING 35% OFF ALL ITEMS GET YOUR QUOTE NOW
APS IS OFFERING 35% OFF ALL ITEMS GET YOUR QUOTE NOW

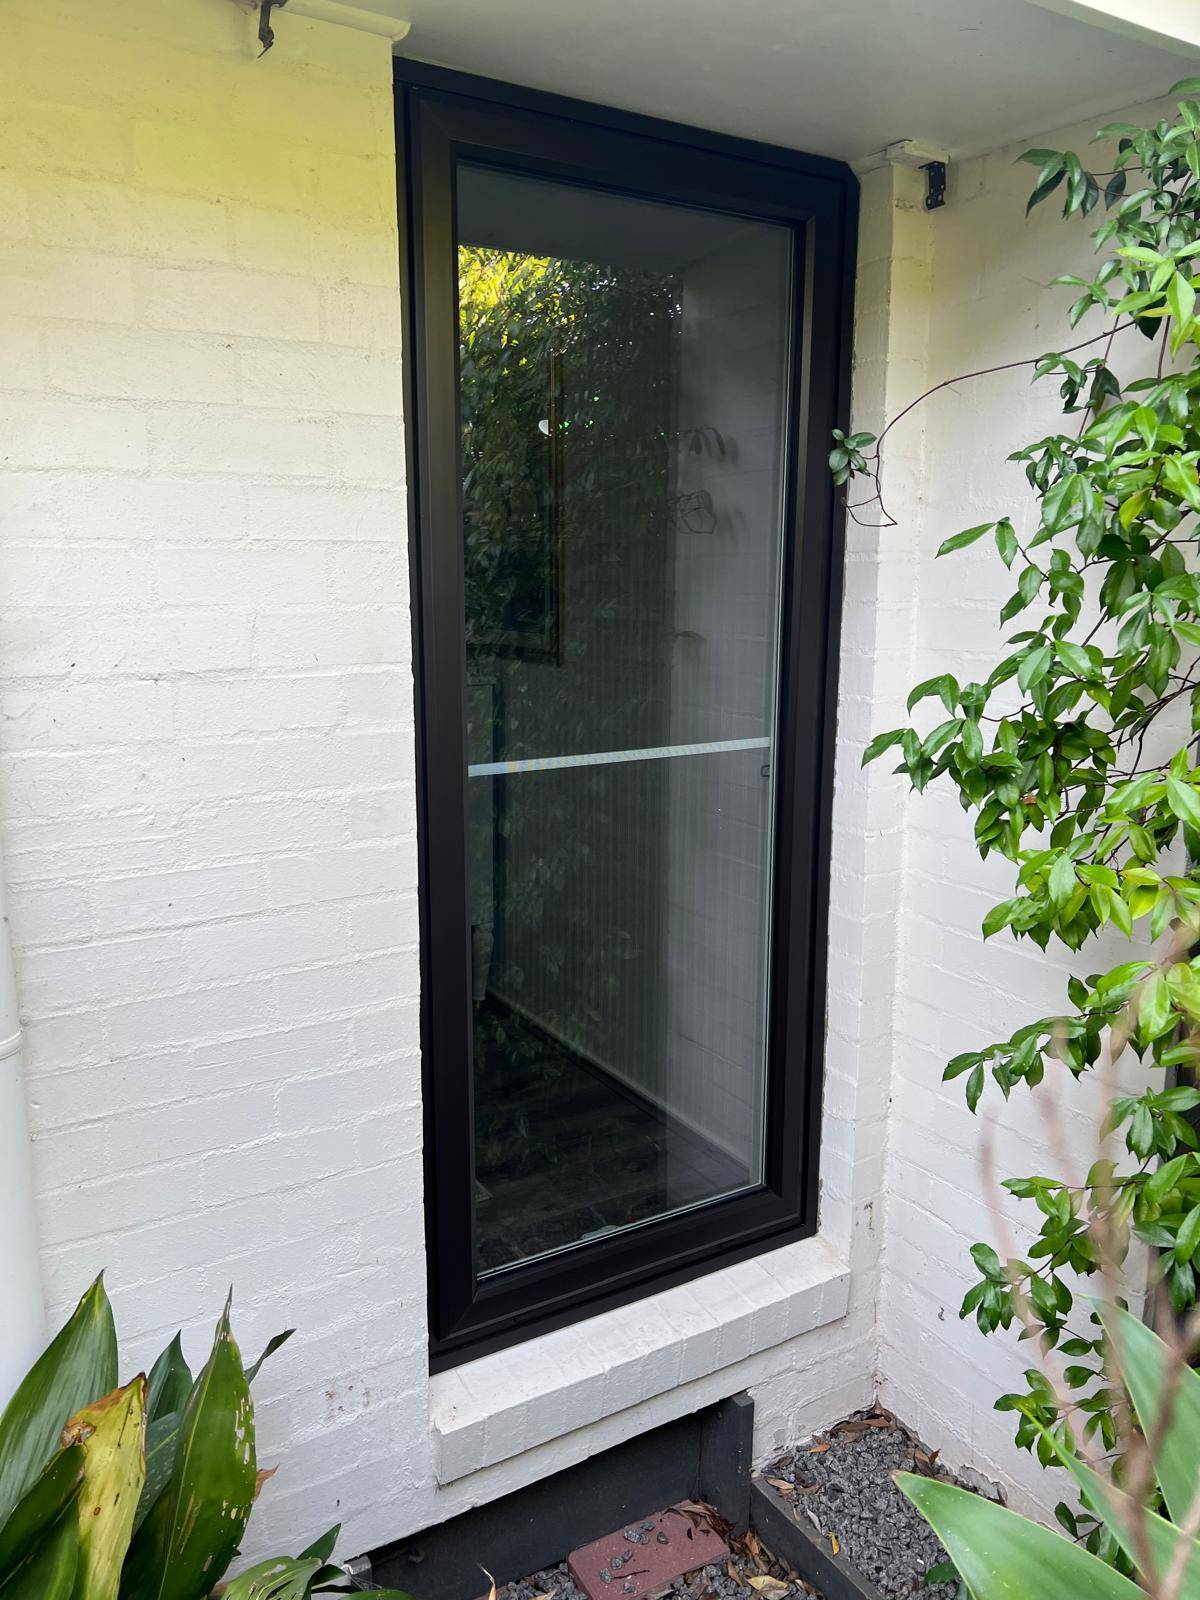
Sliding doors are a popular choice in Australian homes, linking living areas to decks, patios and gardens. Installing one ranges from manageable for a competent DIYer, such as an internal door into an existing opening, to work that belongs with professionals, such as a large external glass door needing structural work or weatherproofing in an exposed spot.
This comprehensive guide covers both. It walks through each step, explains which preparation and structural checks matter, and helps you judge at each stage whether the job suits DIY or a professional installer.
If you’re still deciding on the door type before getting into the installation process, our guides to double glazed sliding patio doors and double glazed stacker doors cover how each system works, what to look for in a product, and where each type performs best — useful reading before committing to a configuration.
The installation process varies significantly depending on the type of sliding door. There are three broad categories worth distinguishing:
Internal sliding doors — typically solid or glazed panels on a top-hung or bottom track system within an existing interior opening. These are the most DIY-accessible categories, provided the opening already exists, and the wall isn’t load-bearing.
External sliding doors — including standard glass sliding or stacking configurations and uPVC sliding doors — commonly connect a living area to a patio or outdoor space. These require precise installation to ensure weatherproofing, drainage, and security function correctly. A competent tradie-level DIYer can do this work, but it requires more skill and care than an internal door.
Replacement of an existing external sliding door — removing an old door and installing a new one into the same frame, or replacing both frame and door. This is the most common scenario for homeowners and is generally suitable for DIY with appropriate preparation.
This guide focuses primarily on external sliding doors — the most common application — with notes on where internal installations differ. The same principles of plumb, level, drainage and sealing apply when installing windows.
Before committing to a sliding door, it’s also worth considering whether it’s the best configuration for your space, particularly in terms of access, ventilation, and visual impact. This comparison of sliding vs French doors and how to choose the right one helps clarify where each option performs better in real residential settings.
Gather these before you start. Stopping mid-job to source a missing tool or component is more disruptive than it sounds.
Tools:
Materials:
For the door threshold and sill, confirm the drainage configuration and whether the supplied sill pan or drainage channel is appropriate for the site conditions.
This is the step most DIY guides skip, and it’s the one that prevents the most expensive mistakes.
External walls in a house are often load-bearing. If you’re creating a new opening or modifying an existing one, a structural lintel over the opening carries the wall load above. Removing or modifying this without appropriate engineering is a serious structural risk. If you’re replacing a door in an existing opening without changing its size, this issue is already resolved. If you’re changing the opening size, you need a builder or structural engineer involved.
Measure the rough opening — width and height of the structural void — at multiple points. Measure width at the top, middle, and bottom; measure height at both sides and the centre. If measurements vary by more than 10mm, the opening has some out-of-square condition you’ll need to account for. The door frame should be smaller than the rough opening to allow for adjustment, shimming, and fixing. Check the wall depth too, so the frame’s depth suits the reveal. Confirm the manufacturer’s rough opening requirements for your specific door unit.
The threshold of an external sliding door needs to drain outward. Check the finished floor or slab level at the door position. A slab that slopes inward or sits level with the outdoor surface without adequate drainage will create a water ingress problem.
In Australia, external glass doors must use toughened or laminated safety glass as required by Australian Standard (AS) 1288. In bushfire-prone areas, Bushfire Attack Level (BAL) ratings affect glazing and hardware specification. In cyclonic regions, wind-load requirements must be confirmed. Any structural modification to a building must meet the relevant requirements for the applicable class of building. If you’re obtaining a building permit for the work (required in some states for structural modifications), the installation must comply with the permit requirements.
Before you begin, clear the area inside and out. Remove the existing door and frame if replacing. Work carefully — external glass panels are heavy and require at least two people. With most sliding doors, the glass panels can be lifted out of the frame track before the frame itself is removed, reducing the weight of each component.
Once the existing frame is out, assess the condition of the surrounding structure. Check for any rot in the timber framing, any damage to the door sill, and confirm that the rough opening dimensions are as expected. Clean the opening of debris, old sealant, and any loose material.
Apply flashing tape to the sill and jambs of the rough opening if the manufacturer’s instructions or your building context require it. This creates a backup moisture barrier behind the frame before the sealant is applied. In exposed locations or where the door is set into a masonry opening without a protective overhang, this step is more important, not less.
This is the most critical phase for the door’s long-term performance. A frame installed out of plumb, out of level, or out of square will create problems — panels that don’t slide smoothly, seals that don’t engage properly, and drainage that doesn’t work as designed.
Lift the assembled frame into the opening. Position it temporarily with packers at the sill to achieve the correct threshold height and drainage angle. The sill should slope slightly outward (toward the outside) to direct water away from the door. Confirm the required slope with the manufacturer — typically 5 to 10mm fall across the sill width.
Check plumb on both jambs and level across the head. Adjust the packers until the frame is correctly positioned. At this stage, don’t fix it permanently — just confirm you can achieve the correct placement.
Once satisfied with the position, mark each fixing point in pencil through the frame’s pre drilled holes, remove the frame if needed, and pre drill into the wall. Then attach the frame to the surrounding structure. Mounting points are typically through the frame head, jambs, and sill — the manufacturer’s installation instructions will specify the fixing locations and the minimum fastener specification. Use appropriate fasteners for the wall type: masonry anchors for brick or rendered masonry, and structural screws for timber framing.
With all fixings in place, check that it is plumb and level again — frames can move slightly during fixing. If alignment has shifted, adjust shims before the frame is fully loaded.
Apply exterior-grade silicone sealant at all perimeter junctions between the frame and the wall. This is the primary weather seal at the frame-to-wall interface. Use a backing rod in larger gaps to support the sealant bead. Tool the sealant smooth for a clean finish and to ensure good contact with both surfaces.
Most contemporary sliding door systems have the track integrated into the frame — the bottom track and top track (guide channel) are part of the frame assembly. If installing a track separately (more common in internal barn-style doors), fix the track to the head or floor according to the manufacturer’s instructions, ensuring it’s level and square to the opening.
For top-hung internal doors, the track carries the full weight of the door. Use the specified fixing centres and fastener sizes — under-fixed tracks cause the door to sag and create alignment problems over time.
For bottom-rolling external doors (the most common configuration for external sliders), the bottom track is the primary load-bearing element. Ensure it’s level along its full length and that the drainage weep holes in the track are clear and positioned to drain outward.
Fitting the rollers to the panels is typically done before the panels are inserted into the frame. Follow the manufacturer’s instructions for roller attachment — the roller height adjustment will be used later to set the panel height and alignment.
Most external systems have one fixed panel and one sliding panel, with the sliding panel usually on the inside track. Install the fixed panel first and secure it to the frame, then insert the sliding panel. For most bottom-rolling systems, the top of the panel fits into the top track at the head of the frame, and the bottom rollers are then lowered onto the bottom track. Handling large glass panels requires two people — one to support each end of the panel while it’s positioned.
Once the panels are in the track, adjust the roller-height screws to set the panels at the correct height. The panel should move smoothly along the track with consistent resistance — neither too light (allowing the panel to move under vibration) nor too heavy (making operation difficult). The panel edges should be parallel to the frame jambs, and the gap between panels should be consistent from top to bottom.
Check that the locking hardware engages cleanly. Multi-point locks engage at multiple points along the panel height — confirm each engagement point is aligned correctly before the door is in regular use.
The door is in and operating. Now, the finishing work determines long-term weatherproofing and appearance.
Apply weatherstripping to the contact faces between the sliding panel and the fixed frame at the closing edge, if not already factory-fitted. This seal is critical for both weather performance and acoustic performance.
Check that the external perimeter sealant applied in Phase 2 is complete and cured. Any gaps or poorly tooled areas should be redone before they’re concealed by trim.
Install the threshold cover if supplied, and confirm that drainage is not compromised.
Apply internal trims and architraves to cover the gap between the frame and the internal wall finish. These are typically fixed with adhesive or pins, not screws, to allow for movement. Seal the joint between the trim and the wall with a flexible interior sealant or a paintable acrylic.
Test the door operation through the full range of motion, checking that it slides smoothly, locks securely at all engagement points, and seals consistently when closed.
A small number of recurring errors account for most failures in sliding door installations. These are the ones most worth understanding before you start.
This affects everything — panel operation, seal engagement, and drainage. Take the time to get it right; adjusting after the frame is fully fixed and sealed is difficult.
Water on the threshold, with nowhere to drain, causes ongoing leaks and eventual structural damage. Confirm drainage before the frame is fixed.
The sealant is the primary weather barrier between the frame and the wall. Gaps or poorly adhered sealant lead to water ingress that can be difficult to diagnose and costly to remediate.
Creating or modifying openings in walls without understanding the structural implications is a category of mistakes that can create serious safety problems. If in doubt, engage a builder.
Replacing a like-for-like external sliding door in an existing opening — same size, no structural work — is within reach for a competent DIYer who’s comfortable with drilling into masonry, working safely with heavy components, and applying sealant to a good standard. DIY can save on labour, but budget a full day for the work and have a helper for the panel handling.
Changing the opening size, working in structural openings, installing in exposed or bushfire-prone locations, or dealing with complex drainage situations are better handled by a licensed builder. The cost of professional installation for an external glass sliding door is typically $300 to $700, depending on complexity, and that investment buys accurate installation and, in most cases, a workmanship warranty.
Internal sliding door installation — a panel on a top-hung track in an existing non-structural opening — is genuinely achievable DIY work for most people with basic tools and a few hours.
A sliding door that performs for decades comes down to preparation and precision: a frame that’s plumb, level and drained before it’s fixed, complete sealing, and two people for the glass. Skipping those steps is what turns a straightforward job into an expensive repair.
For external glass doors, weigh your skills and equipment carefully. A door installed correctly from day one costs less over time than a DIY job a builder has to fix six months later.
APS Double Glazing supplies and professionally installs uPVC double glazed sliding and stacker doors across Melbourne. See completed installs in our project videos, or get a free quote and the team will measure and install your door.
For internal sliding doors or a like-for-like replacement of an external door in an existing opening, yes — with appropriate tools, a helper for panel handling, and careful attention to frame alignment and sealing. For structural work, changing opening sizes, or complex external installations, professional installation is the more prudent choice.
A like-for-like replacement of an external sliding door typically takes four to eight hours for two people, including preparation, frame installation, panel fitting, and sealing. Internal barn-style doors on an existing opening can be completed in two to four hours.
At minimum: a measuring tape, pencil, spirit level, drill with appropriate bits, screwdriver set, rubber mallet, utility knife, caulking gun, safety glasses, and gloves. Have packers and shims available for levelling.
For a like-for-like replacement in the same opening, no. For a new opening or a change to the opening size, yes — this requires structural work, including lintel provision, which should be assessed and carried out by a licensed builder.
Check plumb on both vertical jambs and level across the head of the frame before fixing, using a spirit level. Use packers or shims to achieve proper alignment, and check again once the fixing is complete, as frames can move slightly during the fixing process.
The most common causes are: debris in the track (clean and clear), rollers adjusted too tightly (adjust the roller height screws to reduce resistance), worn rollers needing replacement, or the frame slightly out of alignment, causing the panel to bind at one point in its travel. Identify which section of travel is affected before attempting further diagnosis.
The primary external seal is exterior-grade silicone sealant applied between the frame and the surrounding wall at all perimeter junctions. Apply a backing rod in larger gaps, apply the sealant in a continuous bead, and tool it smooth for good adhesion to both surfaces. Apply weatherstripping to the contact faces between the sliding panel and the fixed frame at the closing edge.